Electric Pallet Warmer
Here is an alternative to the traditional alcohol lamp that I cobbled together.
I had two motivations for building it:
- I don't own an alcohol lamp.
- I could just imagine myself bending over to closely observe the work as I warmed it on such a lamp and setting my hair on fire.
As you can see from the pictures below it consist of a TO-220 package power resistor clamped to a wing of a vintage pallet warmer with a hand-fabricated clamp.
It heats up enough to melt shellac in about 30-60 seconds. I suspect that if left on the power resistor will overheat and likely destroy itself. Some sort of thermistor driven circuit to limit/regulate the temperature would be an improvement. But I just switch it on, wait for the shellac to melt then switch it off.


The simple clamp was fabricated by hand, it consists of a bit of steel filed to the cross-section you can see below and drilled and taped for 4-40 machine screw. (A milling machine would have been a lot faster but I don't yet have one.) It can quickly and easily be clamped to any of the wings on the pallet warmer.

Design Considerations:
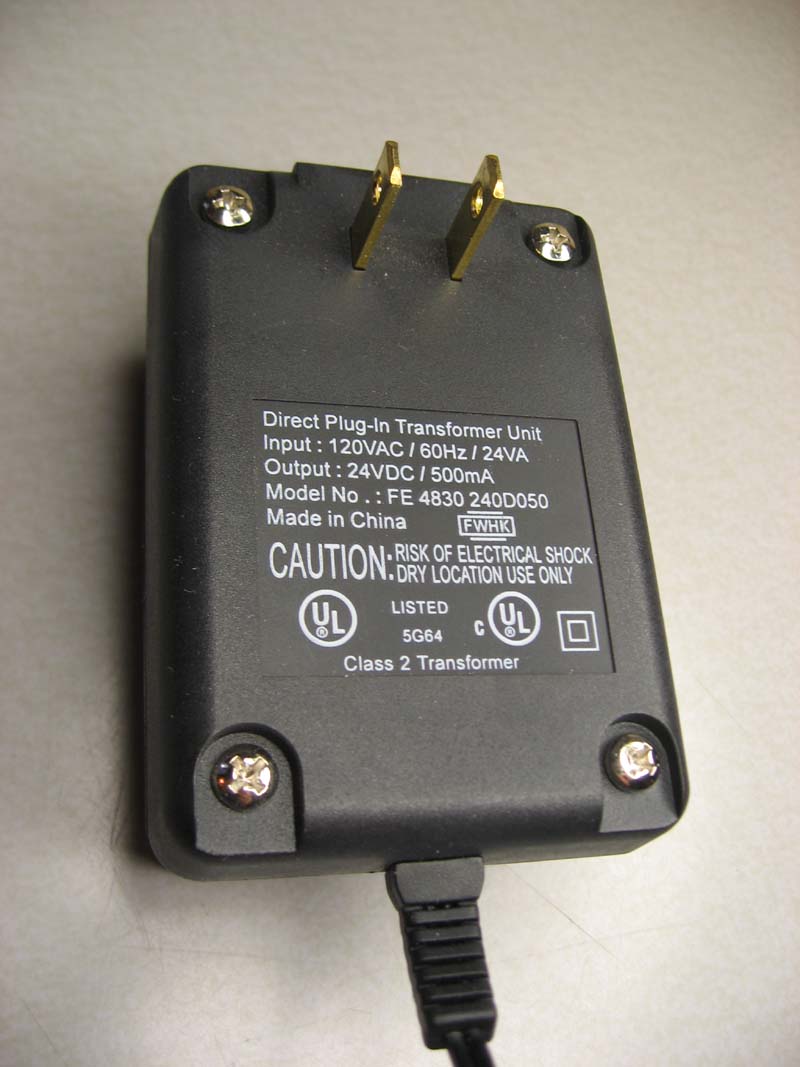
The design was driven by the available power source, which was a 12-watt 24V DC wall-plug type power supply salvaged from a scrap heap of old electronics. To draw the full rating of the power supply, a 50 ohm resistor is called for.
I choose TO-220 package 50 ohm power resistor for the active element (Digikey item #MP930-50.0F, $3.51).
Knowing that shellac melts a between 75C and 85C it was a pretty safe guess that our resistor would probably have get close to 100C. While these particular power resistors are rated for 30 Watt at 25C, at 100C it's 40% of that number or (quite conviently) 12 watts.
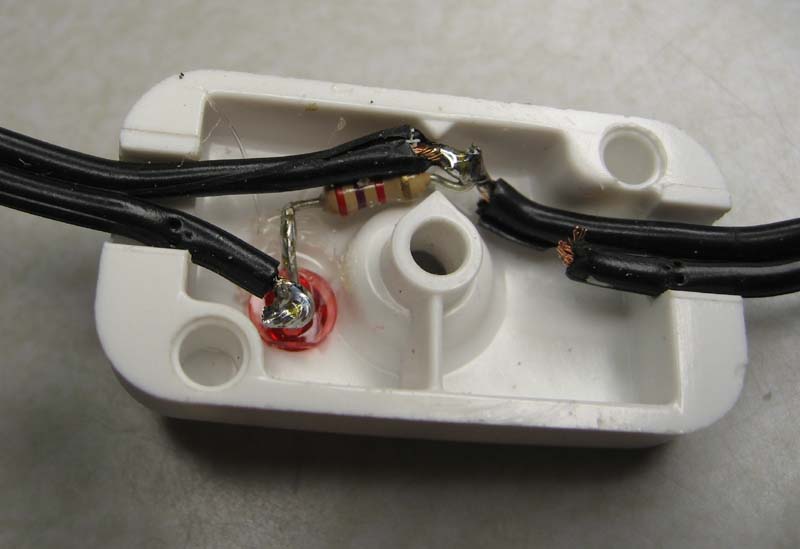
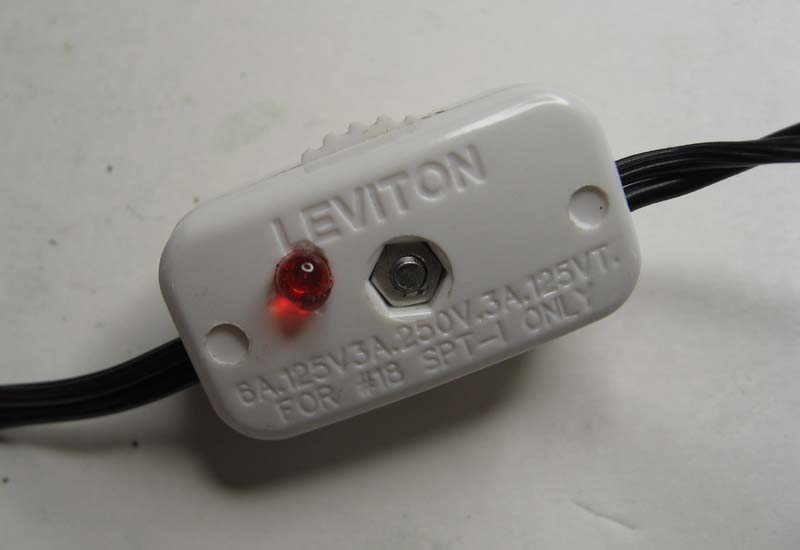
The on/off switch is the standard sort you can buy for a lamp cord, modified to add an LED, so I would have a positive indication that it was on.
The LED is an ordinary red LED I happened to have laying around in my junk box. The resistor is 2k 1/4 Watt limiting the LED current to about 11 ma. Below you can see how I installed the LED and series resistor into the free space inside the switch: